4 July, 2011 (16:59) | Electrics | By: Pete
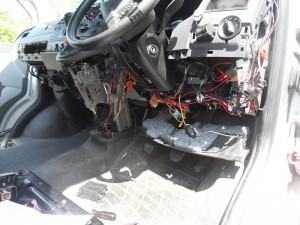
As I’m ripping out the Pioneer head unit and installing  a new Zenec unit, I thought it a good opportunity to redo all the wiring to the auxillaries that I have installed over the past 5 years. Just looking at this photo gives me a headache!
The bits that have been attached over the years include:
- Nokia cradle
- Reversing Camera
- Reversing Camera Manual Activation Circuit
- Snooper Speed Camera Sensor
- Reversing Sensor Mute Circuit
All 0f the above tap off of the same ACC wire so increasing the load.
Here is the new circuit diagram to help clean up the wiring.

There is a new separate ACC fuse box specifically for all my auxillaries. This acc fuse box is powered from the main van battery, through a relay and to the bus bar of the fuse box. The acc relay is operated from the acc input wire on the radio loom (Brown with Red Trace). This method allows a larger wire to be used to help take a greater load. The operation of the relay only requires a small current and the acc source from the radio is ideal.
Comments: -
17 June, 2011 (15:56) | Electrics | By: Pete
It’s been a year since I was last playing with the van conversion, so I’m just getting my head back into the project now the weather has recovered (he says as the rain is lashing at the window!). In a way the break has done me good, as I’ve had time over the winter to mull ideas over in my head.
A bit of MS Visio work and out pops the latest wiring diagram for the van. I’ve laid out the wiring and components geographically within the van so to help get a feel of where things will be etc.
The only change I can foresee is the DPDT changeover switch for the 240v input (top right of pic). Instead of a manual switch, the option is to have an automatic changeover unit called a contactor. This has been suggested by VWT4Forumite – Upspex.
Tags: 12v, 240V, charger, Contactor, Inverter, Lighting
Comments: -
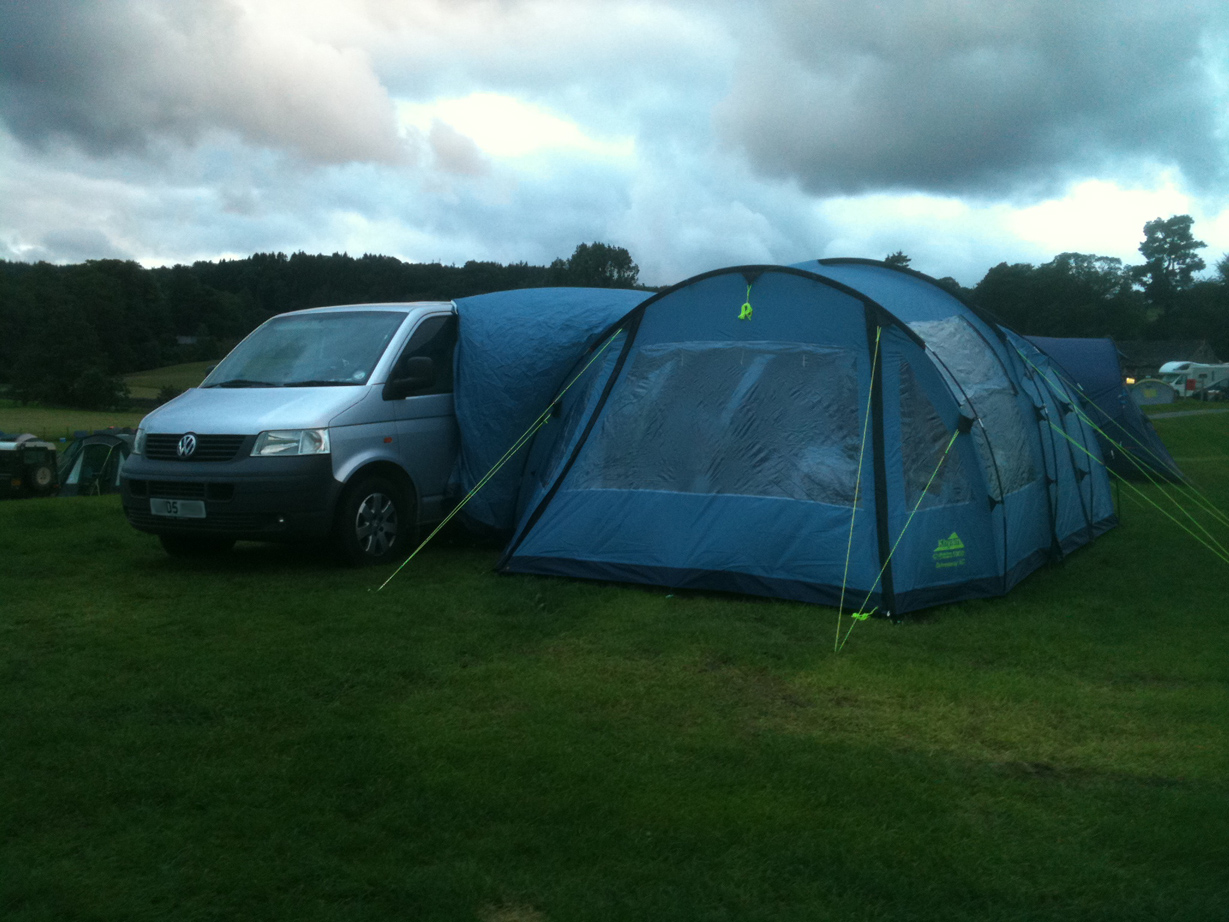
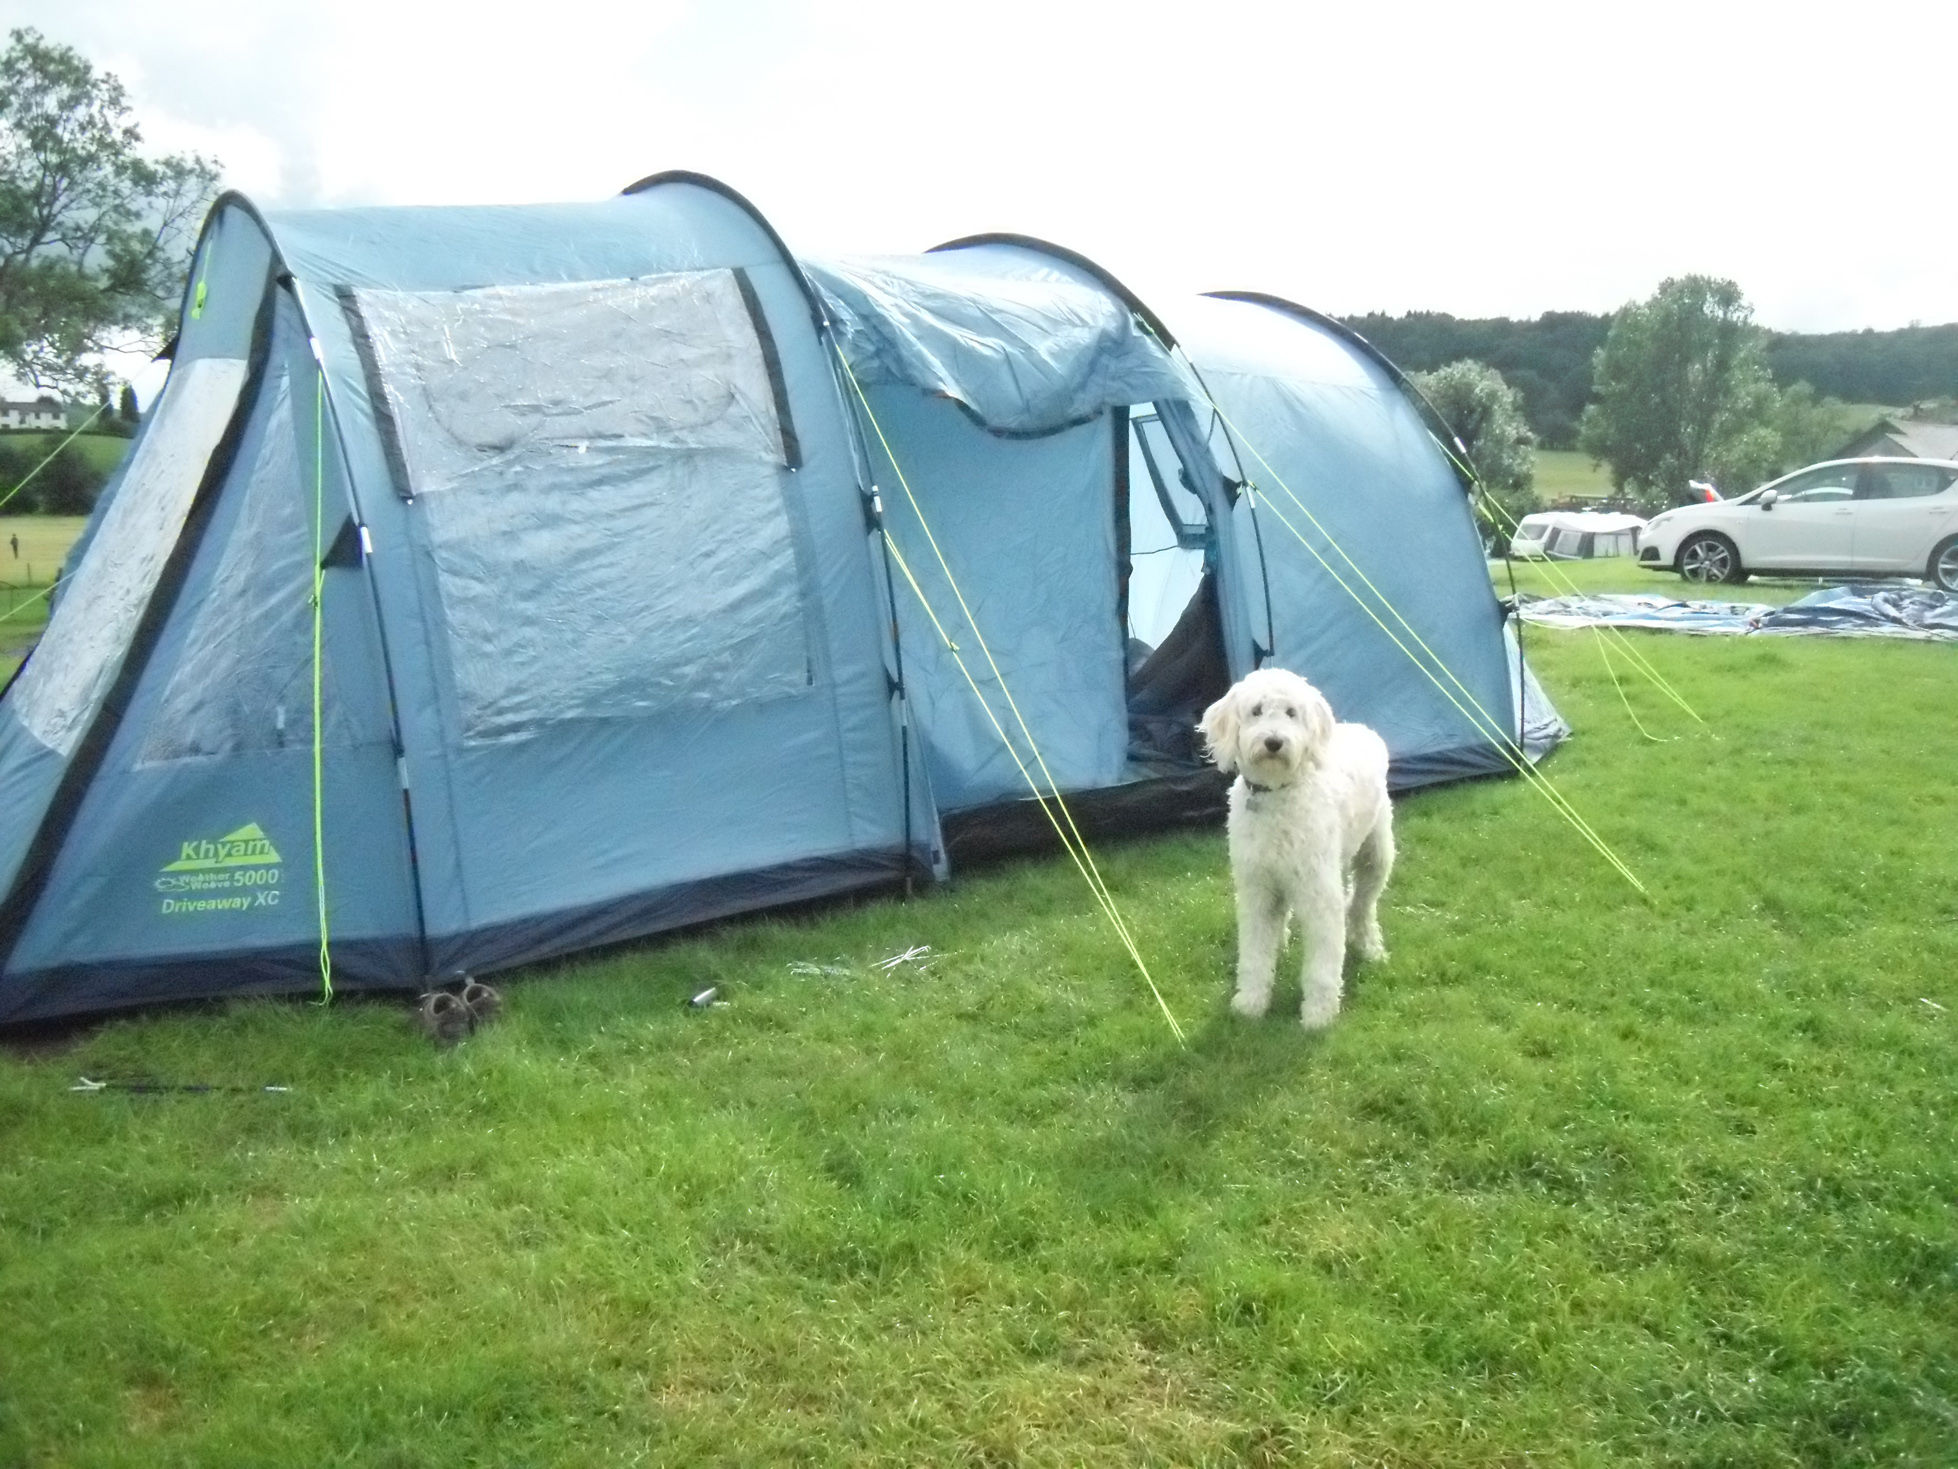
17 June, 2011 (13:42) | Awning | By: Pete
Tags: awning, driveaway, Kyham, tent
Comments: -
28 July, 2010 (20:49) | Electrics, Lining | By: pete
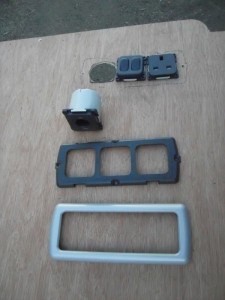
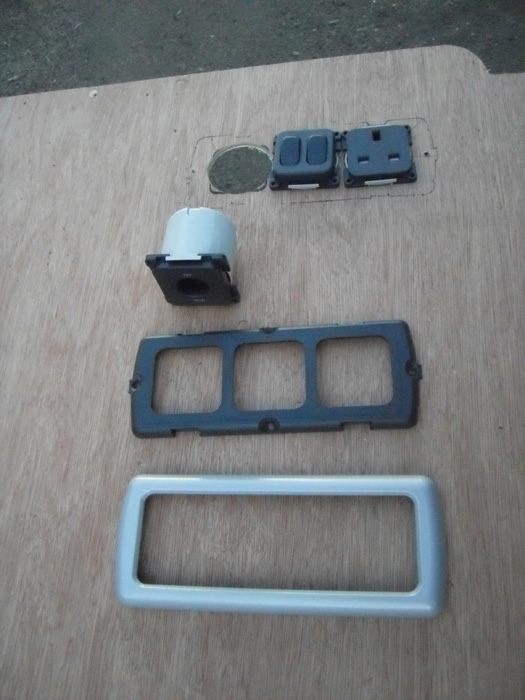
Require 240v sockets for when plugged into campsite mains. I considered normal domestic sockets, but thought I wanted something a little more fancier / modular. Looking around and asking on the vwt4forum, I was lead to the products from CBE components. Best / easiest supplier is www.marcleleisure.co.uk. The mounting frame (the bit with the 3 squares in it) comes with the surround frame.
 CBE Modular Components |
 CBE Modular Components |
Read more »
Tags: cbe, Marcleleisure, Socket
Comments: -
15 July, 2010 (22:32) | Electrics | By: pete
As mentioned in a previous post, I had to quickly get the van back together ready for a weekend away.
On the Friday evening, I connected a 12v cig socket direct to the leisure battery with an inline fuse. This was so that I could run the cool box and not worry about the battery going flat – the van battery that is.
 CBE Sockets |
 CBE Sockets |
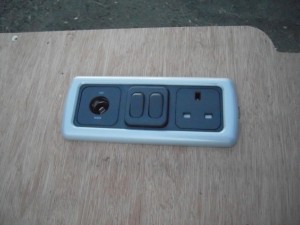
The above CBE sockets, purchased from www.marcleleisure.co.uk have been installed in the top right corner of the rear LHS panel – out of the way of being knocked and damaged.
Anyway, cut a long story short, ran down to Lee On Solent for the weekend and let the van top up the Leisure Battery. Left the cool box on whilst away from the van and when I returned 7 hours later, the cool box was no longer running. Battery flat.
So with JUST the coolbox drawing 0.9A, the battery lasted 7 hours. Mmmm. Good enough? I don’t know. But it was a good test.
Tags: 12v, cbe, coolbox, Leisure Battery, Marcleleisure
Comments: -
15 July, 2010 (21:23) | Lining | By: pete
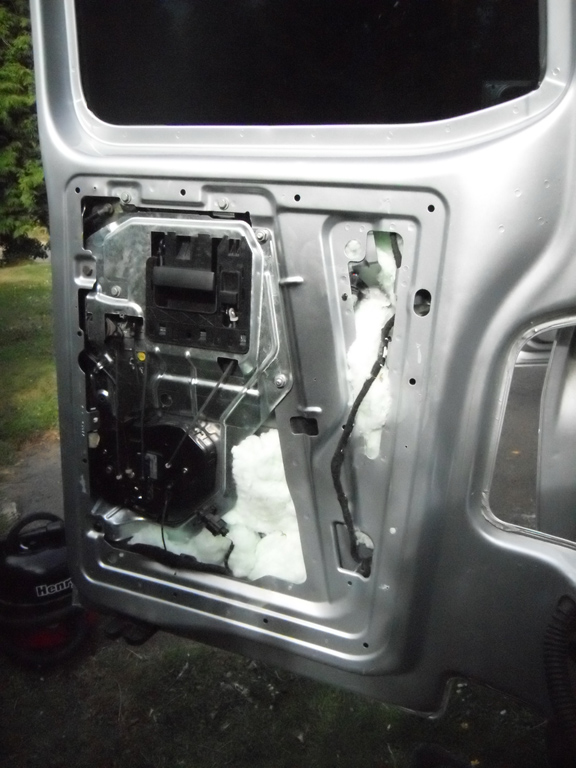
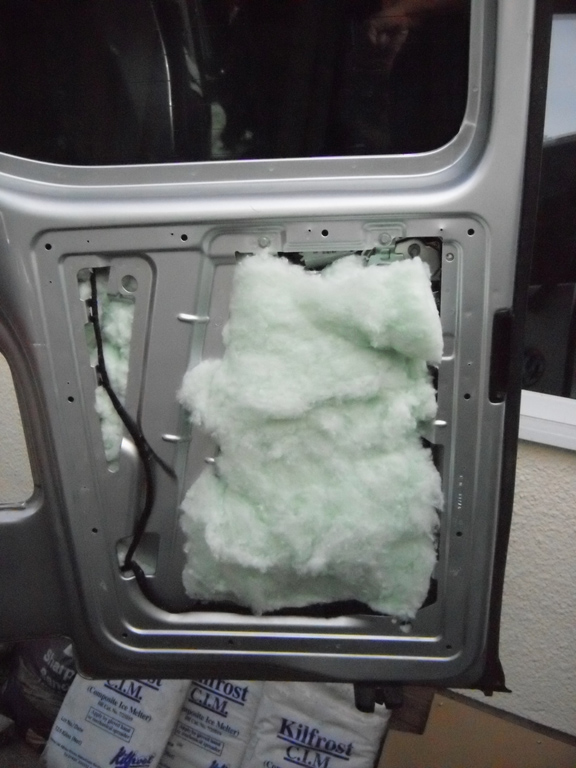
Insulation:
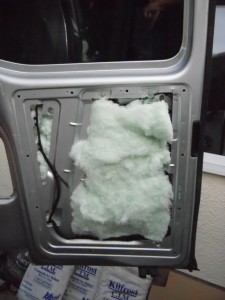
B&Q recyled plastic bottle insulation. www.diy.com Selected this because:
- It is safer / healthier than rockwool for starters;
- You get more for your money than the sheeps wool for B&Q;
- You can stuff it into holes better than polystyrene or celotex boards;
- It doesn’t make squeeky noises like polystyrene or celotex boards;
- Quicker and easier to install.
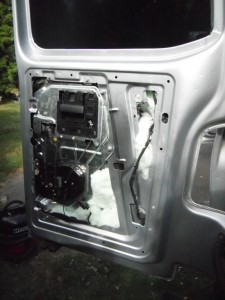
So after applying Dynamat to the bare metal, then Dynaliner or Camp Mat over the top, stuff the cavities with the insulation. I ensured I didn’t compact the insulation too much as it is the trapped air that makes the insulation work. Also had to make sure that the insulation didn’t stray into the moving parts of the locks and handles etc.
 LHD Insulation |
 RHD Insulation |
Tags: insulation, thermal
Comments: 2
14 July, 2010 (21:50) | Lining | By: pete
Whilst the van is stripped, I thought I would look into sound proofing. It isn’t too complex a subject, just that most people complicate it. There is a difference between sound proofing and sound deadening, so you need to know what you want to do so to apply the correct method.
Now I’m not going to reinvent the wheel and copy the content from another website, so here is the link to the website www.sounddeadenershowdown.com I will however, give a little summary.
Read more »
Tags: dynaliner, dynamat, insulation, sound proof
Comments: 6
3 July, 2010 (21:37) | Lining | By: pete
It is amazing what a deadline can do for you, Friday 9th July I have to have the van back on the road so to tow the boat to Lee on Solent Saturday morning for the ISO National Championships (http://www.isoracing.org.uk). Along with the fact I am unfortunately on day shifts next week instead of useful night shifts (where I can get loads done during the day), the pressure is on.
Read more »
Tags: Carpet, Lining, Mega Van Mats, Ply
Comments: 4
28 June, 2010 (10:06) | Electrics | By: pete
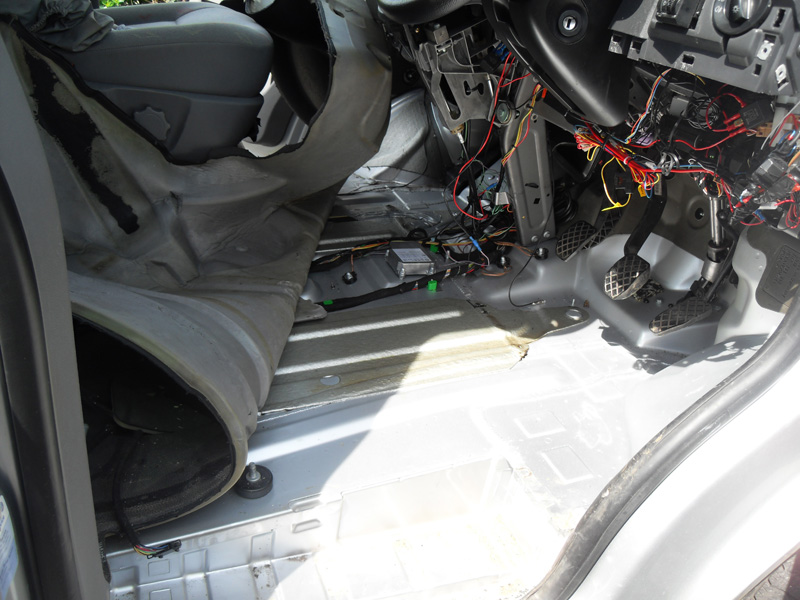
Well the other week I stripped the van so I could see what was what. Had to figure out how I was going to route all the cables from the main battery to the leisure battery. The aim was to locate the leisure battery under the drivers seat.
 Dashboard area panels - stripped! |
 Front Cab Carpet Peeled Back |
Now I know it looks very messy, the reason for this is…. that it is messy! I installed the mess about 4 months after I got the van in 2006. Included in the mess is:
- Pioneer Sat Nav wiring (below the gear stick);
- Snooper wiring;
- mobile phone wiring;
- wiring for 2 x rocker switches and relays:
- one to activate the reversing camera when going forward – to check up on the boat I’m towing;
- the other to switch off the reversing sensors whilst reversing with a trailer (Don’t the sensors know that I know I’ve got a trailer hooked up behind me?)
Read more »
Tags: Isolator, Leisure Battery, Mega Fuses, RAW, Split Charge
Comments: -
27 June, 2010 (17:52) | Electrics | By: pete
Best to start with what I want in the van, then we can discuss loading and ultimately battery selection.
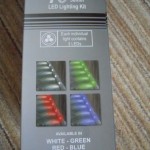
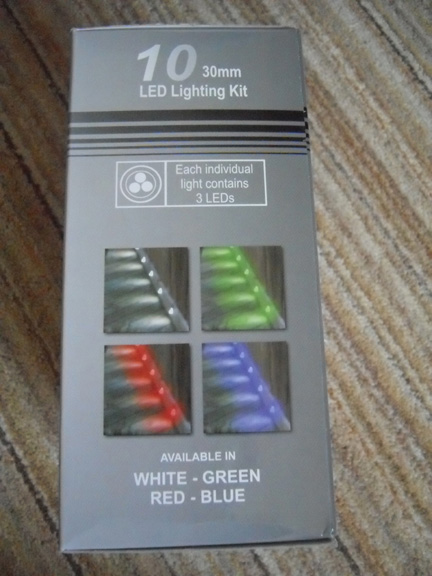
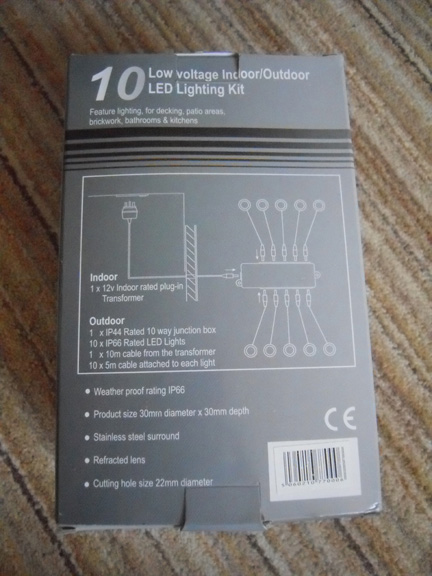
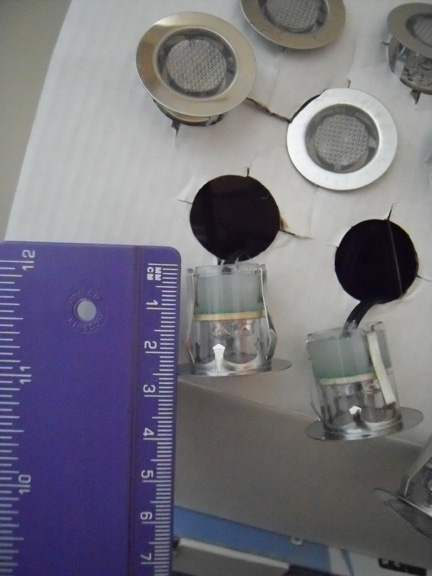
Lighting
| The LED’s – very bright, and designed for decking / Kitchen plinths etc.
I have a box of blue and a box of white. I doubt I’ll be using all of the LED’s, but the intention is to split them up into groups. They will be replacing the standard light units in the roof and door wells. They will go down both sides of the roof. The plan is to have them switched either on with the doors, off, or on.
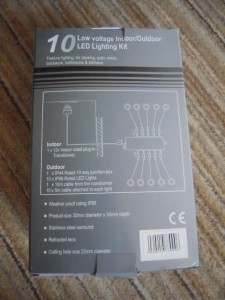
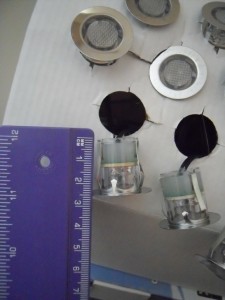
The transformer is 240v input and 12v 230mA output. So the transformer is not required, but I will utilise the connector units (I have one per set – see pic 2) where possible. |
 LED Lighting Box 1 |
 LED Lighting Box 2 |
 LED Lighting Box 3 |
|
Tags: Leisure Battery, Peukert
Comments: -


